How to run Wordpress on an old laptop or PC

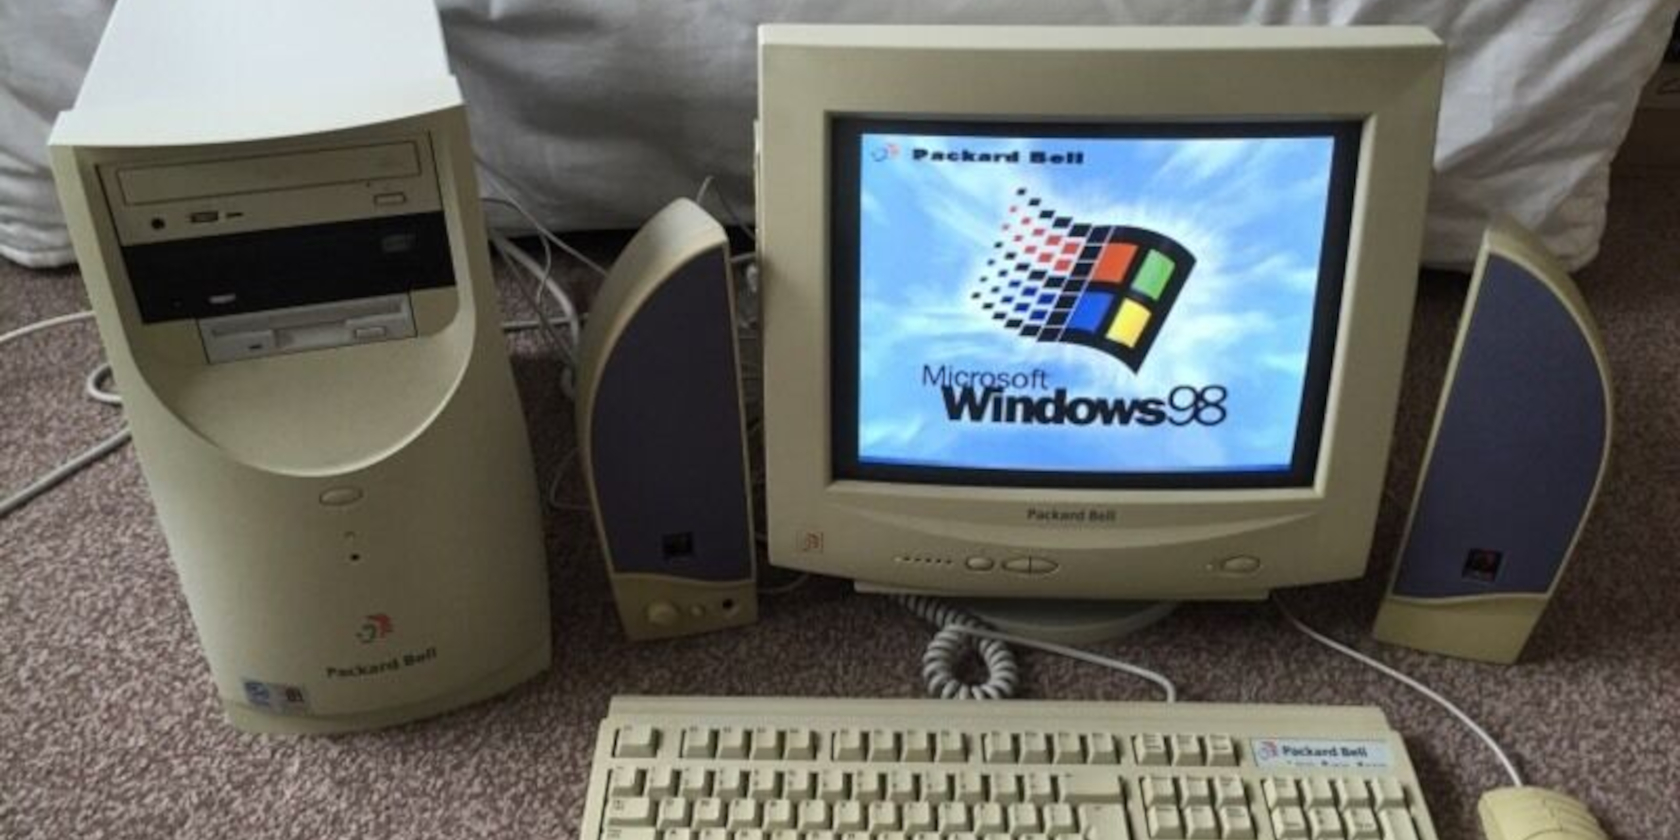
Wordpress is one of the easiest content management systems to use, and runs around 40 percent of the internet. It's super easy to set up, and will run on even basic hardware from more than a decade ago. If you have an old desktop PC or laptop gathering dust in your basement, you can put it to work serving quality content over the internet.
Running WordPress on an old computer is easy
Before you start, you should read our guide on how to turn your old PC or laptop into a server. This covers the basics of installing Linux onto your box, and opening the necessary ports on your home router to allow traffic in.
Once you've done that and have successfully connected to your server over the internet, you may find it easier to connect to your server over SSH from within your own network.
On your server, open a new terminal window by pressing Ctrl + Alt + T. In the window, type:
sudo apt install openssh-server
Enter your password when requested, and SSH will install.
To connect to your server from a Linux PC
If you're connecting to your server from a Linux PC, all you need to do is to open a terminal on your local machine and enter:
ssh username@server.local.ip.address
Where username is your username on the server, and server.local.ip.address is, as you might guess, the local IP address of your server.
To connect to your server from a Windows PC
Unfortunately, Windows doesn't come with an SSH client built in, so you will need to use a third party client. We recommend PuTTY for SSH connections.
To use PuTTY on Windows:
Download the latest version of PuTTY from https://www.chiark.greenend.org.uk/~sgtatham/putty/latest.html.
Double click on the msi installer to start the installation process.
You can now start PuTTY from your start menu.
In the hostname field, enter the local IP address of your server, and for User, enter the name you use on your server.
When you're ready, click Connect.
Disconnect your monitor, keyboard, and mouse
Now you can connect to your Linux home server through SSH, there's no need to have any peripherals plugged in. You can accidentally input commands or open apps with a keyboard or mouse, and a monitor, even in sleep mode, consumes power.
You don't need a keyboard, mouse, or monitor to operate your server, so you should unplug them.
Install WordPress on your home server
After you connect to your home server over SSH, you should upgrade all installed packages:
sudo apt update
sudo apt upgrade
Now use wget to fetch the latest release of WordPress to your home directory:
wget https://wordpress.org/latest.zip
before you can unzip the WordPress installation files, you first need to install the unzip utility:
sudo apt install unzip
Now:
unzip latest.zip
A new directory will be created called Wordpress. Use sudo to move the new directory to where it is accessible to Apache.
sudo mv -r wordpress /var/www
Change ownership of the wordpress directory so that Apache can read, write, and modify its files:
sudo chown -R www-data:www-data /var/www/wordpress
You will need some additional php extensions to correctly set up and use WordPress on your home server. Install them with:
sudo apt install php-curl php-mysql php-dom php-gd php-imagick php-mbstring php-zip php-intl
Install MariaDB database and create a new user
MariaDB is a database and lets your WordPress installation know where all the files and images are. Install it with:
sudo apt install mariadb-server
And set it up with:
sudo mysql_secure_installation
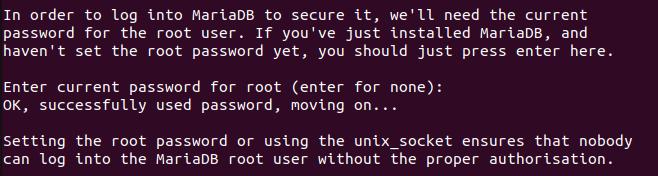
Press return when prompted to set a root password, and accept the default values for the rest.
When the process has completed, enter MariaDB with
sudo mariadb
You will be setting up a new user called wordpress, and a new database called wordpress. Obviously, while we're using "password123" for the purposes of this tutorial, you should use something different.
Inside mariadb, enter the following lines one at a time, pressing return after each one. Ensure that each line ends with a semicolon (;).
CREATE DATABASE wordpress;CREATE USER wordpress IDENTIFIED BY 'password123';GRANT USAGE ON *.* TO wordpress@localhost IDENTIFIED BY 'password123';GRANT ALL privileges ON wordpress.* TO wordpress@localhost;FLUSH PRIVILEGES;quit; Set up an Apache configuration file for WordPress
You should already have Apache installed, so change directory:
cd /etc/apache2/sites-available/
...and use nano to create a new file:
sudo nano wordpress.conf
In this file, paste the following:
ServerName your-domain-name.tld DocumentRoot /var/www/wordpress Save and exit nano with Ctrl + O then Ctrl + X
Enable a couple of Apache mods:
sudo a2enmod proxy proxy_http
Restart Apache with:
sudo service apache2 restart
Visit your home Wordpress site in your browser to finish off the initial installation
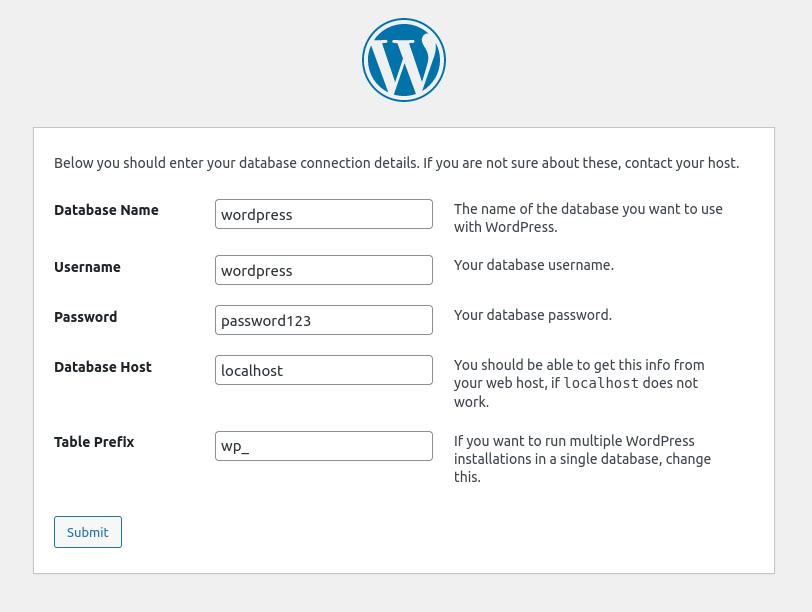
Open your favourite browser and type "localhost" into the address bar to visit your WordPress installation wizard. You'll be asked to select a language, and you'll need to provide:
Database name (wordpress)
Database username (wordpress)
Database password (password123 or what you set in MariaDB)
Database host (localhost)
When you're done, choose a new username and password.
Make secure connections to your home WordPress server
Connections to any website are vulnerable to Man in The Middle (MITM) attacks, this is especially problematic when you'll be typing in usernames and passwords.
Most websites now use Transport Layer Security to encrypt connections. You can use certbot to install security keys and certificates to enable this:
sudo add-apt-repository ppa:certbot/certbot
sudo apt update
sudo apt-get install python3-certbot-apache
You can now use certbot with:
sudo certbot
Now when you visit your home WordPress site, all connections will be upgraded to HTTPS.
You successfully installed and secured a WordPress site on your home server
Any old hardware can find a use, especially if you're willing to set aside an afternoon for experimentation, and Linux isn't as scary as you might think.
Give some thought to the kind of WordPress site you want to run. You can display art, write blog posts, or even use it to start up a new business or side job.