Install Immich on a Raspberry Pi and replace Google Photos
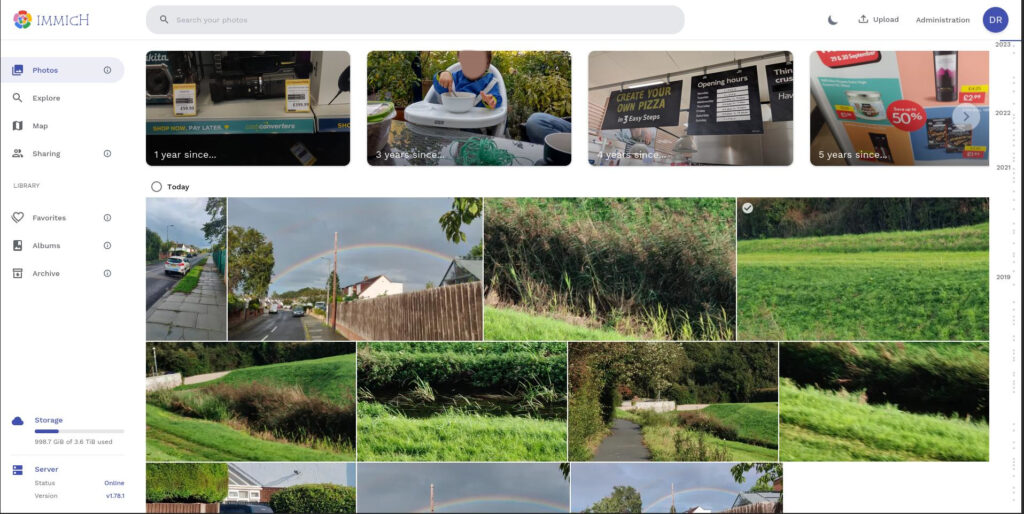
Immich is an open source Google Photos clone that you can host yourself. Even if you don't know what you're doing, it shouldn't take you more than an afternoon, starting from scratch. This guide is meant to get you up and running as fast as possible.
Why use a Raspberry Pi to host Immich?
Simple. A server is meant to be powered on 24 hours per day 365 days a year. A Pi consumes minimal electrical power, but has enough computing power to get the job done.
What you need
A Raspberry Pi 4B - The 8GB version is best, but 4GB will do.
An adequate USB-C power supply.
An Ethernet cable - it's faster and better than WiFi
A high capacity USB SSD - Micro SD cards aren't great.
A different computer on the same network.
A domain name
Steps to install Immich on your Raspberry Pi 4B
These steps are meant to be followed from the beginning, but if you're already set up, feel free to skip parts. We're assuming you're using a Windows desktop machine - because most people do.
Install an OS to your SSD
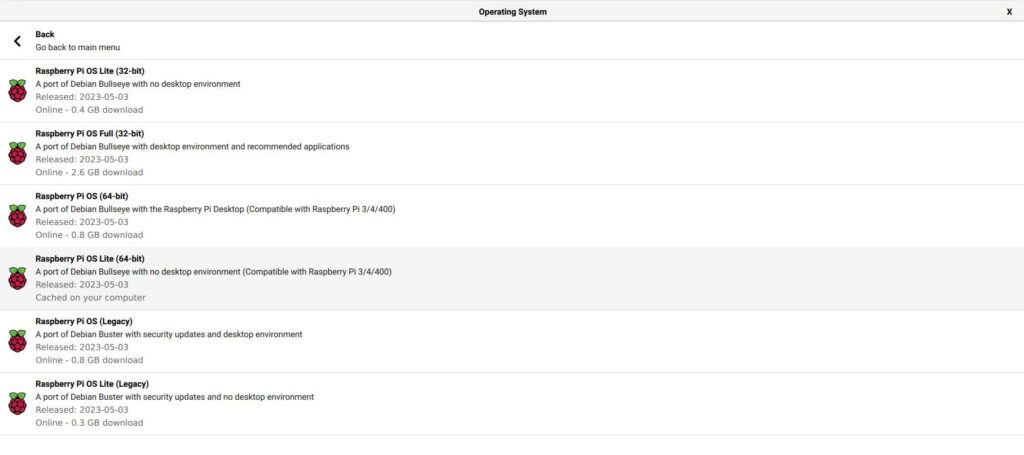
The Raspberry Pi Imager tool can install a variety of operating systems. Download it here, and double click on the file to launch the installer. Once, it's installed, launch Raspberry Pi Imager from your start menu.
Click Choose OS, then Raspberry Pi OS (Other) > Raspberry Pi OS Lite (64 Bit).

Next, click Choose Storage, and select your SSD.
Click the cog icon in the lower right of the app, and set the following.
- A name for the pi - "pi" is good.
- Check the box for Enable SSH
- A username and password combo
- Locale with the correct timezone
- A static IP address - most ISPs will provide one for free if you ask nicely.
Click Save, then Write.
Imager will inform you when the OS has been written to your drive.
Assemble your server
Plug the SSD into one of the available USB3 ports, then connect the ethernet cable to a spare Ethernet port on your router, and the other end to your Pi's ethernet port.
NB: depending on the type of SSD, you may need a powered USB hub in order to prevent crashes and failures.
Finally, plug your power supply into the Pi's USB-C socket.
Connect to your Pi from your PC
Secure Shell (SSH) provides a secure way to access and manage network devices and servers over an unsecured network. If you're on Windows, the easiest way to use SSH is with a dedicated client such as PuTTY.
Download PuTTY, and install it in the usual way. Open PuTTY from your start menu.
In the Host Name text box, type in the Pi hostname followed by .local.
If, when configuring the image earlier, you named your Pi as "pi", you would enter:
pi.localChoose SSH as the connection type, then hit Open.
You'll see a scary warning about the host's key, hit yes to add it to the registry.
A new window will open prompting you to enter your username, then your password. Do it.
Prepare your Pi
There are a few things you need to do before you can install Immich on your Raspberry Pi. All you need to do is copy and paste the following commands, and enter your password when asked.
It's probably important to note that when entering a password in the Linux terminal, you won't see any response on the screen. Don't worry about this - just type your password and press Enter when you're done.
First off, you'll need to make sure all your packages are up to date:
sudo apt update && sudo apt upgradeInstall and enable Apache:
sudo apt install apache2sudo systemctl start apache2sudo systemctl enable apache2 All done? Sweet. It's worthwhile enabling some Apache modules. You won't need them all to install and use Immich, but they're useful to have:
sudo a2enmod rewrite http2 proxy proxy_http proxy_http2 proxy_wstunnelNow you need to install and enable Docker - a tool for managing containers:
sudo apt install docker.iosudo systemctl start apache2sudo systemctl enable apache2 Add your user to the Docker group:
sudo usermod -aG docker piIf your username is something other than "pi", use that instead.
Your membership of the Docker group won't take effect until you log out then back in again.
exit...will log you out. Log in again with PuTTY.
Docker Compose is a tool that makes managing Docker containers even easier. Unfortunately the version available in the standard repositories isn't up-to-date.
Manually install a recent version of Docker Compose, by pasting the following commands one at a time:
wget https://github.com/docker/compose/releases/download/v2.21.0/docker-compose-linux-aarch64mv docker-compose-linux-aarch64 /usr/local/bin/docker-composesudo chmod +x /usr/local/bin/docker-compose Finally, you need to find your local IP address. Run:
hostname -IYou'll see a lit of numbers, with eacher group of four separated by dots, for instance, "192.168.1.45". Your Pi's local IP address is the first on the list. Write it down for later.
Install Immich on your Pi

The hard work is done, and it's time to install Immich.
Create a directory for Immich, and a directory for your uploads:
mkdir immich && mkdir immich_uploads
Move into the immich directory and download the Docker Compose file, and the environment file:
wget https://github.com/immich-app/immich/releases/latest/download/docker-compose.ymlwget -O .env https://github.com/immich-app/immich/releases/latest/download/example.env Edit the environment file using the nano text editor:
nano .envFind the upload location section and change it to read:
UPLOAD_LOCATION=~/immich_uploads/Save and exit nano with Ctrl + O then Ctrl +X.
The following command will download docker images, and start the containers for Immich:
docker-compose up -dThis will take some time. Go take the dogs for a walk, or do your shopping.
When you return, open a browser on your PC, and in the url bar, enter:
your-pi-local-ip-address:2286...substituting "your-pi-local-ip-address" for the actual local IP address you noted earlier. Click on the Get Started button and create the admin user by entering an email address and password. It doesn't have to be your real email address, and to be honest, it's probably better if it isn't.
Well done. Immich is up and running, but there are a few more things to do before you can start using it as a Google Photos alternative.
Make your Immich server accessible from anywhere
You should already own a domain name. Visit your registrar, and locate the DNS or Advanced DNS section. Delete any records already set, and create a new one.
Set the host as @ and the value as your home IP address. Set the TTL value as low as you can.
This will ensure that requests to your domain name are forwarded to your home IP address. You'll also need to ensure your router knows what to do with the requests.
Your router admin page is usually accessible by typing 192.168.1.1 into the address bar. If not, check the side of the router which will give you the correct address along with the default admin password.
Log into your router and look for a section called port forwarding or port management. Create a new entry for ports 80 and 443 – setting the value to your Pi's local IP address. Enter your domain name, and you should see the default Apache placeholder page.
Back on the Pi, create a config file for Apache:
cd /etc/apache2/sites-available/nano immich.conf In the new file, paste the following text, making sure to substitute your actual domain name:
In the new file, paste the following:
ServerName your_domain.comProxyPass / http://127.0.0.1:2283/ProxyPassReverse / http:/127.0.0.1:2283/ProxyPreserveHost On Save and exit nano again, and enter the following:
sudo a2ensite immich.confsudo service apache2 restart You should now be able to access your Immich instance by typing your domain name into any browser.
That's great, but you're not secured by TLS, meaning your traffic could be intercepted by a Person-in-the-middle attack. It's unlikely, but it's better to be safe than sorry.
Fortunately, there's a handty tool called Certbot which can fetch and install security certificates for you, as well as upgrading connections to the more secure HTTPS protocol.
Install Certbot with:
sudo apt install software-properties-commonsudo apt updatesudo add-apt-repository ppa:certbot/certbotsudo apt-get install python3-certbot-apache Run certbot with:
sudo certbotAnswer the questions, then restart Apache again with:
sudo service apache2 restartThat's it. You're done. Congratulations! Now install the apps on your phone.


