Why we publish with Publii and GitHub Pages: it's trouble-free and it's actually free

Self-hosting sites and services from home is a pleasure and a joy - as well as being an all-consuming hobby that gives us more headaches than it should.
The Raspberry Pi 4B is more than capable of providing extensive services for an extended family - furnishing them with an Audiobook server; streaming movies, shows, and music through Jellyfin; office suite and slot-in Drive replacement through courtesy of NextCloud; a Fediverse server (eschewed by everyone but this writer); Photo upload, and gallery with Immich, an email server and Snappymail frontend; and even more services that we can't recall right now.
The humble Pi has even, in the past, been used to host public-facing websites.
Hosting a website from home is a gratifying and traumatic experience, and your experience will vary depending on exactly how you decide to set it up.
The Crow - a site now on semi-permanent hiatus, and from which several of the articles on Linux Imact were culled - was created as a static site using Jekyll. The writing was done in the Atom editor, and files were shuffled off onto the Pi using SCP (Secure Copy).
Most of the time, the site ticked along happily, and was relatively unperturbed even under heavy traffic - one notable exception being when traffic to an article about porn being hosted on a Department of Transport subdomain forced the site onto a VPS for a short period.
WordPress on a Pi isn't always the optimal solution
Linux Impact is younger than you may think - popping into existence after a domain name purchase on November 6th 2023, and certain decisions were made in an unconsidered rush.
The first of these was to use WordPress as a content management system. WordPress is great software, and there's a reason it powers more than half of the websites online today.
It was...fine. It's easy to get a website looking OK quickly, and there's no messing around with text editors.
And everything worked well until we start getting decent amounts of traffic. After appearing on the HN front page, we were quickly forced offline - struggling under numbers that a static site would have handled with ease.
Yes, we could have eased the burden by using a CDN to deliver images and other content from elsewhere on the web, and we did seriously consider doing exactly that.
But once we arrived at the realisation that it wasn't entirely practical to completely host this website on a bargain basement SBC and a domestic internet connection, we started to wonder why we were hosting it at home in the first place.
Making better design decisions

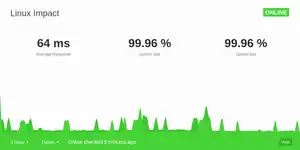
The first decision we made was that all content was going to be hosted offsite. GitHub Pages was the natural choice, as hosting is both free and fast - although there's an ever present nagging feeling that current owner, Microsoft, will, at some point, pull the rug and spiral into service enshitification.
You can host any content you like on Github Pages. You can use your own domain name, and they'll even throw in SSL certs for free. It's pretty easy to set up, with the only proviso being that the content needs to be static. If you're hosting a web shop, or anything that requires users to sign in, static sites probably aren't for you anyway.
While WordPress is excellent as a content management system, and it's possible to create a site using WorPress and export it as static pages, it's a bit fiddly for our tastes, and we've always found messing around with themes, layouts and widgets to be an annoyance rather than a feature.
Jekyll was an option. Writing Markdown and creating sites with Jekyll is fun, but now that Atom, our favourite text editor has been archived, it's not as much fun as it used to be.
Publii is a static site generator with all the bells and whistles you can imagine, and a for producing and editing posts, it's not all that different from the back-end of a WordPress blog: convenience, a variety of editors, a marketplace for themes and plugins. While our WordPress instance was periodically dropping offline and heroically resurfacing, we were able to port our meagre content into Publii, and get set up for free on GitHub.
Sure, GitHub pages has usage limits, but they're quite generous:
GitHub Pages source repositories have a recommended limit of 1 GB. For more information, see "About large files on GitHub"
Published GitHub Pages sites may be no larger than 1 GB.
GitHub Pages deployments will timeout if they take longer than 10 minutes.
GitHub Pages sites have a soft bandwidth limit of 100 GB per month.
GitHub Pages sites have a soft limit of 10 builds per hour. This limit does not apply if you build and publish your site with a custom GitHub Actions workflow
In order to provide consistent quality of service for all GitHub Pages sites, rate limits may apply. These rate limits are not intended to interfere with legitimate uses of GitHub Pages. If your request triggers rate limiting, you will receive an appropriate response with an HTTP status code of
429, along with an informative HTML body.
We very much doubt we're going to hit those limits.
Creating static sites is simple with Publii
Publii is Free software licensed under GPL3. This means you can use it, distribute, modify, and redistribute with your own modifications (provided any modifications are distributed under the same license) however you want. You can buy, sell, and trade copies if you want - although that seems kind of pointless since the developers have made binaries for Windows, MacOS, and Linux available from the main Publii website.
Installation on our Debian-based system was as easy as popping a terminal and entering:
wget https://getpublii.com/download/Publii-0.44.0.deb
sudo dpkg -i https://getpublii.com/download/Publii-0.44.0.deb
...and in a matter of minutes the app was installed and accessible from the system menu (it's a fairly hefty package, so the actual download took around 300 seconds ).
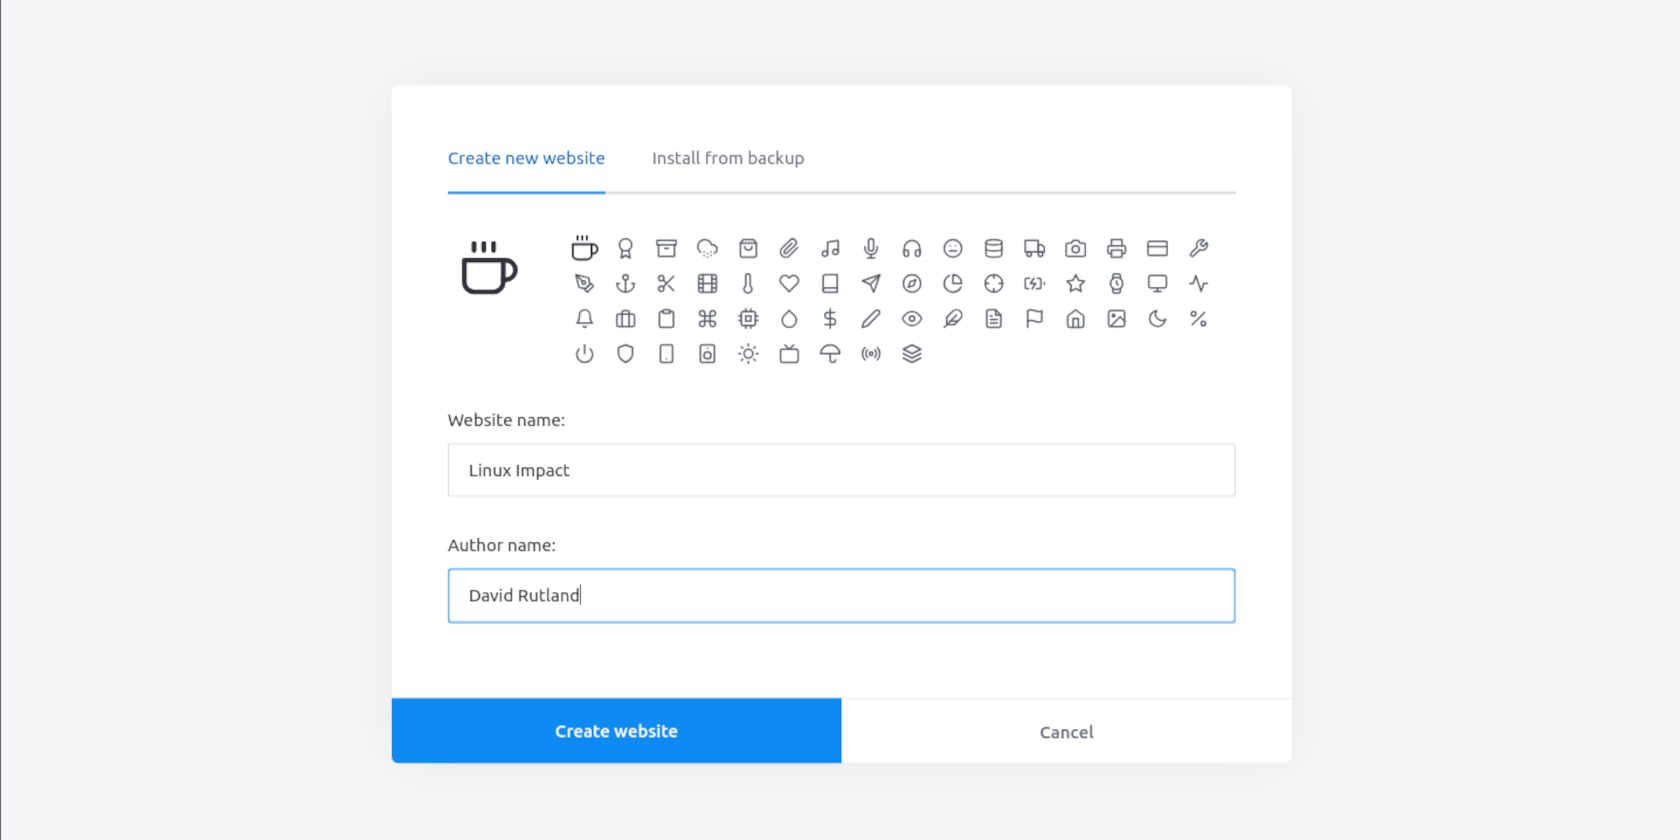
Start Publii, and you'll be asked to accept the GNU GPL3 license then be asked to give your website a name, and choose a name for the primary author. You can also choose an adorable little icon to represent yourself and the site within Publii. We went with a steaming hot cup of coffee. Hit the big blue button and get started.
This is where our experience most likely differed from most Publii users, because we weren't creating a website from scratch - we already had our struggling WordPress instance.
Following the very well-written and understandable Publii instructions, we logged into WordPress, and from the admin panel clicked tools > export to download an XML file containing posts, authors, category, and tag content. The file itself is only a few hundred kilobytes, so took only moments.
Adding our exported content to Publii took longer. The process itself is simple, just click Tools & Plugins > WP Importer, then select the file you just downloaded. Publii will then download addition assets from your WordPress instance.
As our WordPress site was failing under weight of numbers, this took a good hour, and when it was over, we breathed a sigh of relief.
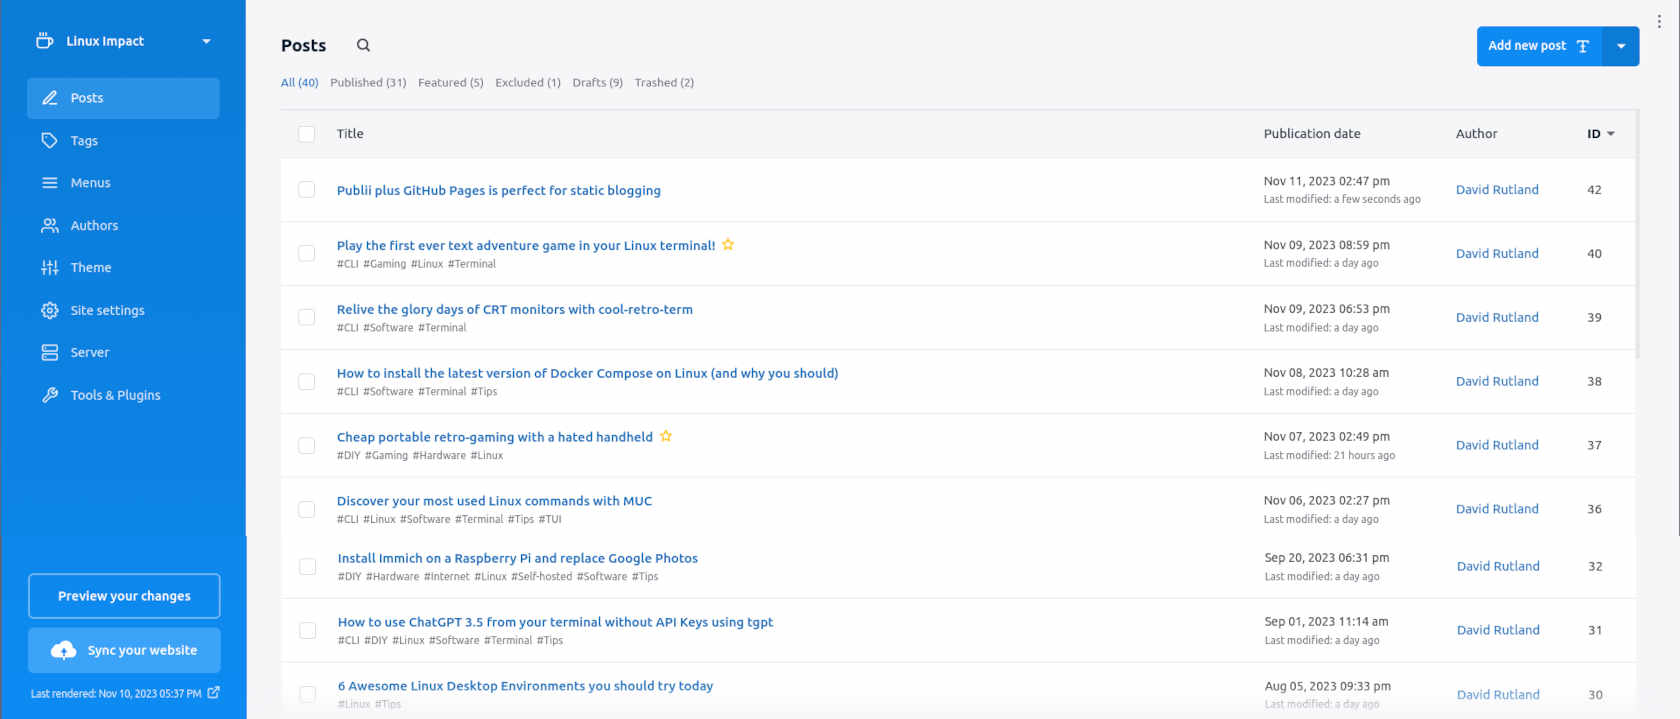
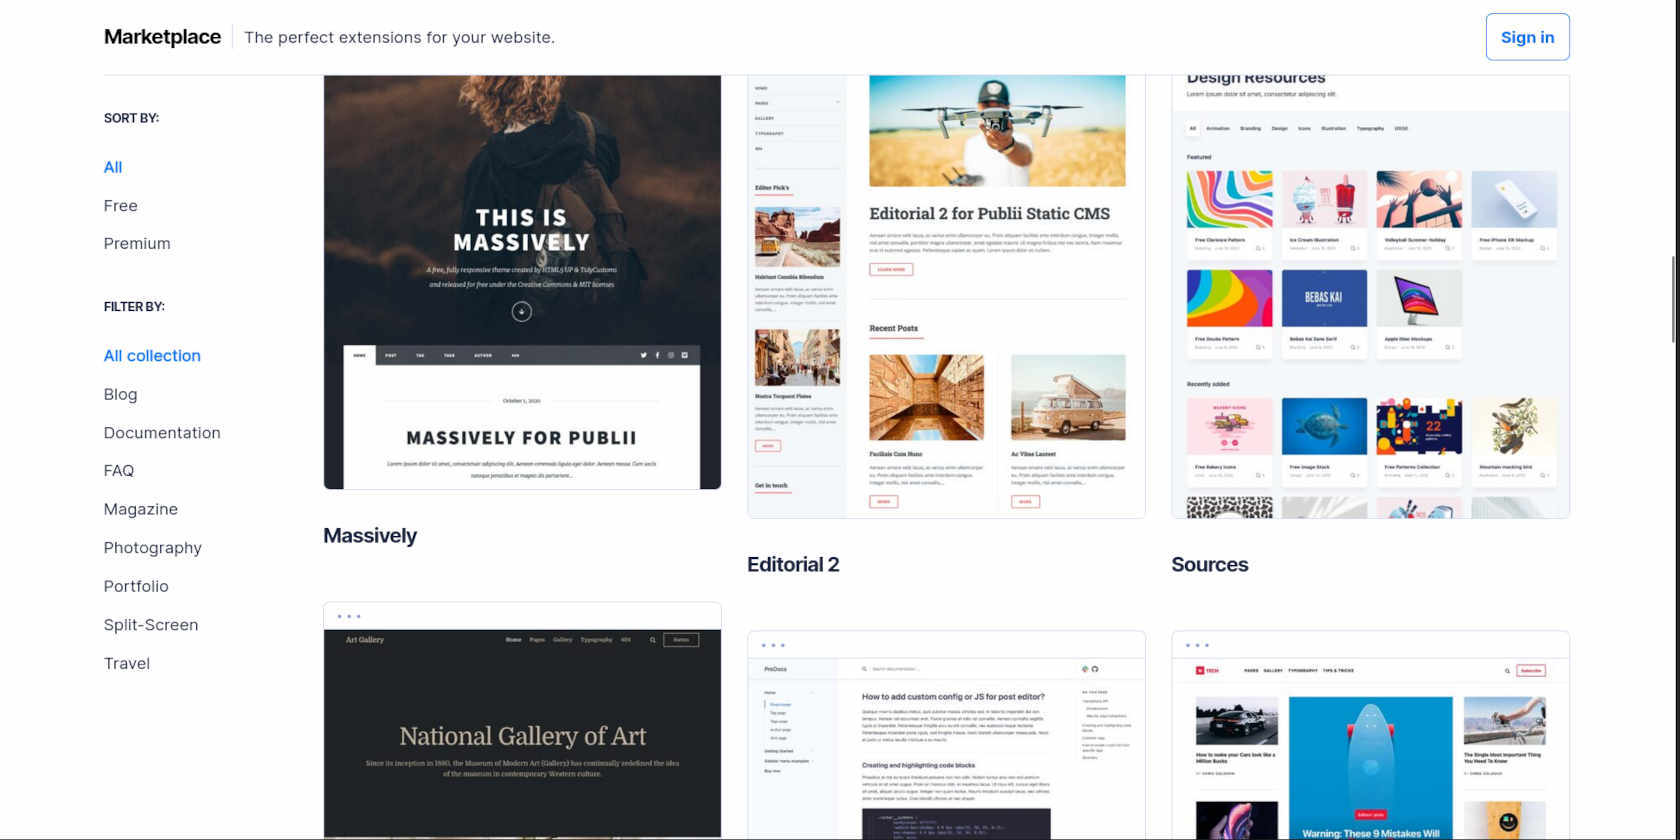
You'll find all of your posts under the Posts menu item on the left of the screen. Publii comes with a single theme installed - it's called Simple, and it looks pretty much how you'd expect. If you want more themes, check out the Publii marketplace for a selection of free and paid-for themes.
We decided to go with TechNews - it's clean, it's smart, it's easily customised, and best of all for an experimental publication with a tight budget, it's free.
Download the theme zip file to your local drive, click the three dots in the top right corner of Publii, click Themes, then Install Theme.
To activate your new theme, Go to Site Settings, and select your new theme from the dropdown menu. Click on Save and Preview to have Publii generate the HTML for your site and open it in your default browser.
We noticed that some of our code snippets weren't rendering properly, and a few of our header images hadn't downloaded and had to manually fix a few issues. It wasn't a big deal.
In the Posts section, you'll see that you have a choice of editors, and depending on your previous experiences and preference, you can use Markdown, a word processor-ish WYSIWYG interface, or a very WordPress-like block editor.
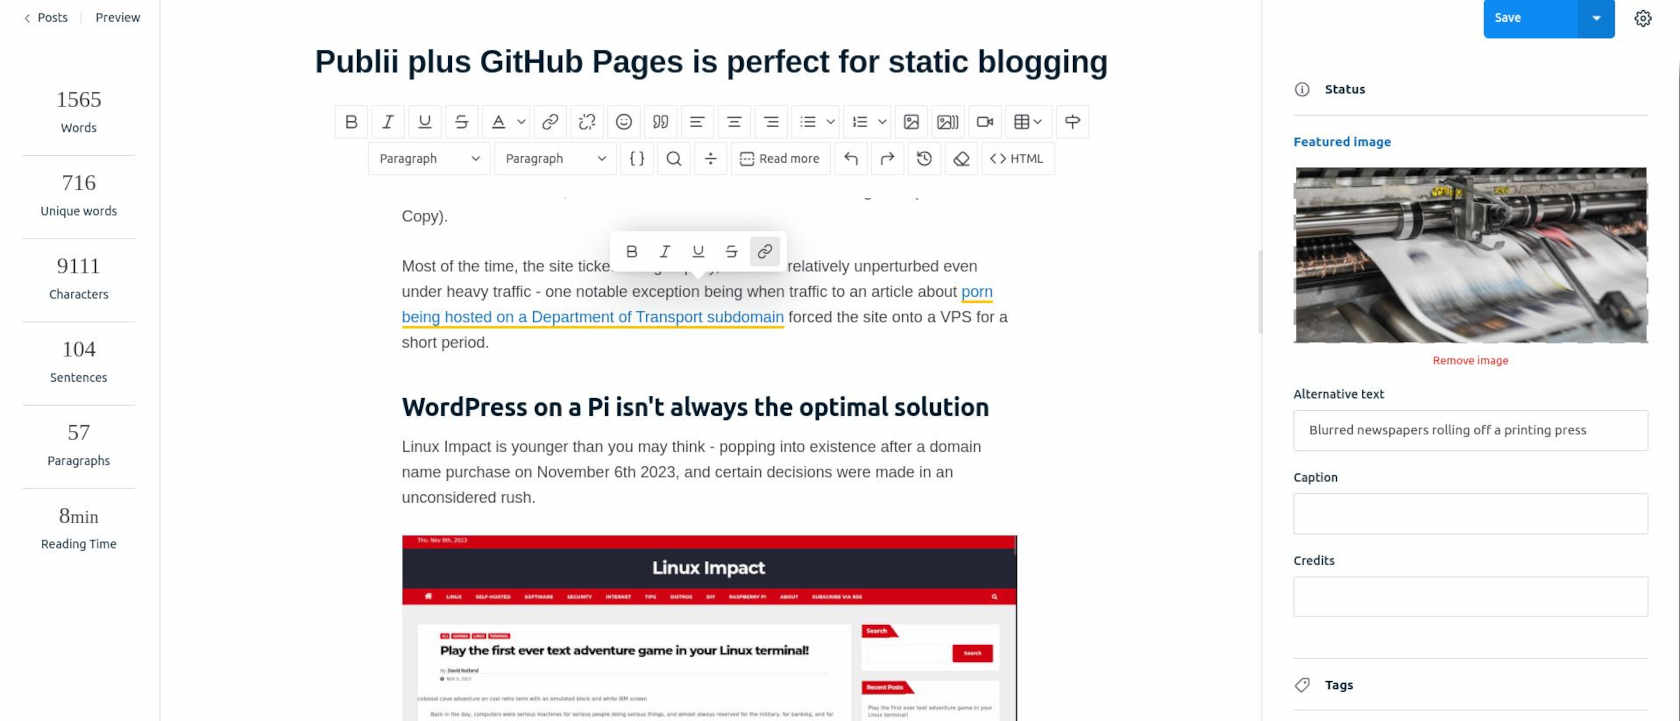
Creating and editing a post is exactly what you're used to.
Menus, were next and similarly simple to set up, a Matomo analytics plug-in, and we were ready to go.
Uploading Linux Impact to Github Pages
You'll need an account to use Github Pages, and fortunately for us, we already had one.
Create a new repository, and a initialise a new branch for your static files (you can delete the master branch). Make sure you have Git installed on your local machine, and to make things a little easier GitHub Desktop can be useful as well.
Once you've cloned the repo onto your local machine, it's simply a case of going to Server in Publii, giving your site a URL, and choosing the output type and directory. Handy hint: Don't use relative URLS or you won't get an RSS feed. Once that's done, hit Sync your Website to create the static files. Copy them over to your local GitHub repo, then push to origin.
Your new static site will be accessible on Github (Our Github pages address is https://davidrutland.github.io/linuximpact), but you probably want to use your own domain name.
Visit your registrar, and enter a CNAME record with your Github pages address as the value eg: davidrutland.github.io.
You'll also need to create four new A records, with @ as the host, and the following values:
185.199.108.153
185.199.109.153
185.199.110.153
185.199.111.153
Set the TTL as low as possible and save, then head back over to GitHub. Click Settings > Pages, and replace the yourname.github.io with your domain name. Wait for GitHub to run its checks, and make sure to click the Enforce HTTPS box.
That's it. You're done, and provided you don't run into any issues, it's taken may half an hour.
Any time you want to add or update a page, just press that Sync your Website button in Publii, and then use either Git in your terminal or Github desktop to update your site.