Instantly generate configs from running containers with Docker-Autocompose
For the self-hosting enthusiast, Docker is one of the greatest innovations of recent years. It allows developers to ship an app, and know that it will always run in a predictable environment.
For users, deployment is relatively simple. You don't need to chase down dependencies, and you can port your dockerized app from system to system. Often, rolling out a Docker app is as simple as entering a single line specifying the image, volumes, and ports to use.
Docker Compose makes life even simpler, and you can use it to lay out your parameters in a single YAML file, and control your containers with an even shorter command.
Some projects don't come with Docker Compose

Docker Compose is our preferred way of administering the dozens of dockerised apps we use on a daily basis. It's even easier than Docker, and comes with the added bonus that you can manage multiple docker containers simultaneously. Forget typing in lengthy Docker commands - it's all right there in your docker-compose.yml.
It's nice when open source projects come with ready made Docker Compose files, but even if they don't you can quickly create your own using docker-autocompose - a Python project that inspects the configurations of containers, and generates the necessary config - provided you already have your Docker container running, that is.
docker-autocompose is easy to install

Before you start, you should make sure you have both Docker and Docker Compose on your system.
docker-autocompose is a Python app, so you should also have Python3 and Pip. If you're using Ubuntu or Debian, you can install these with:
sudo apt install python3-pipWith that out of the way, clone the docker-autocompose Git repository, and move into it:
git clone https://github.com/Red5d/docker-autocompose.git && cd docker-autocompose.gitInstall docker-autocompose with:
sudo python3 setup.py installHow to use docker-autocompose
There's no better way to explain something than with an example, so we're going deploy a dockerised app on our Raspberry Pi server and use docker-autocompose to create a docker-compose.yml file.
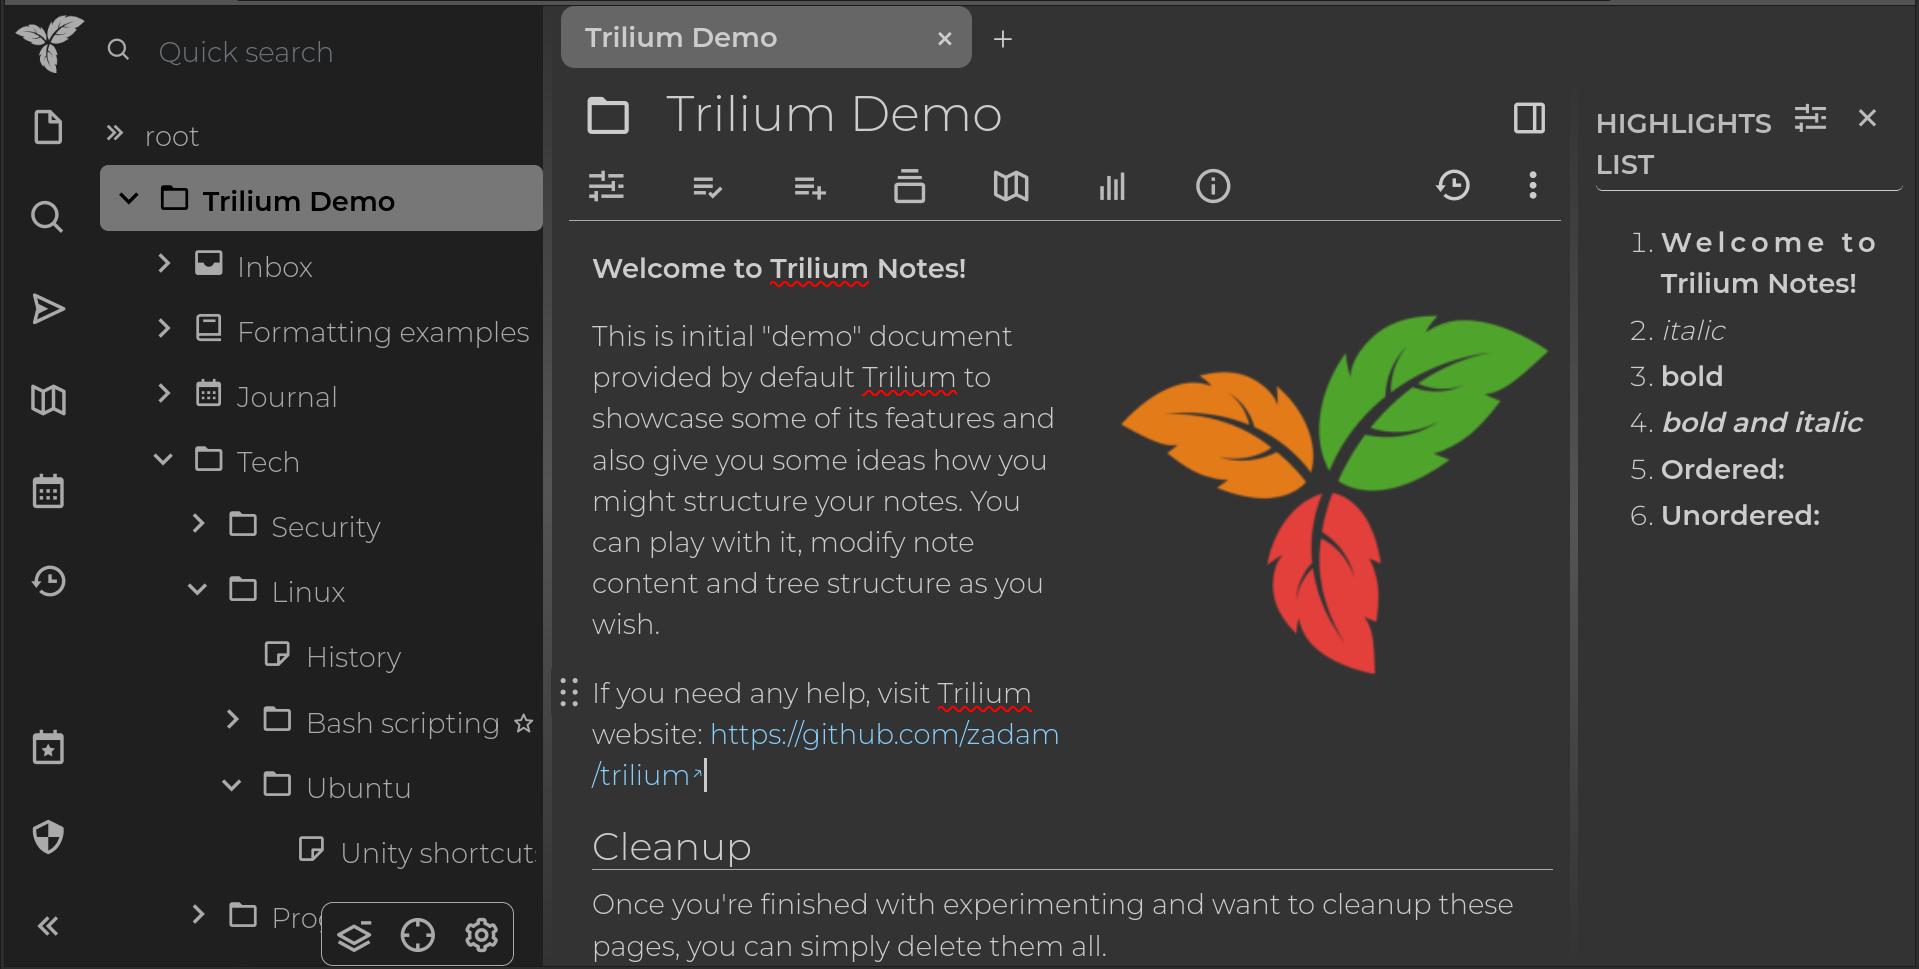
Trilium Notes is an open-source note-taking app you can self-host, and is compatible with clients for Andoid, and various desktop operating systems, as well as having an excellent web app that looks good and works well on both mobile and full-fat browsers. It's a fantastic and free alternative to Evernote or OneNote that you can use without any restrictions or fees. Trilium is also massively extensible with themes, widgets, scripts, and API extensions available.
While the Trilium developers have created a dockerised version of the notes server for easy deployment, they haven't created a Docker Compose file for easy management. Drat - but we can fix that.
First deploy the Trilium Docker container in something approximating the recommended way:
mkdir trilium && cd triliumsudo docker run -t -i -p 127.0.0.1:6391:8080 -v ~/trilium/trilium-data:/home/node/trilium-data zadam/trilium:latestNote that we've specified port 6391 as our external port - that's simply because we already have something running on port 8080. You can also change the location where you want Trilium to keep its data. We've created a Trilium directory and specified the data directory should go in there.
Later, it's where our Trilium docker-compose.yml file will reside. Hit enter and Docker will download the Trilium images and set up the necessary containers and data directory.
Visit localhost:6391 to check Trilium is running, then in another terminal tab or window, enter:
docker psThis command will give you information on all of the docker containers running on your system. Take a note of the Container ID, then enter:
autocompose.py container-id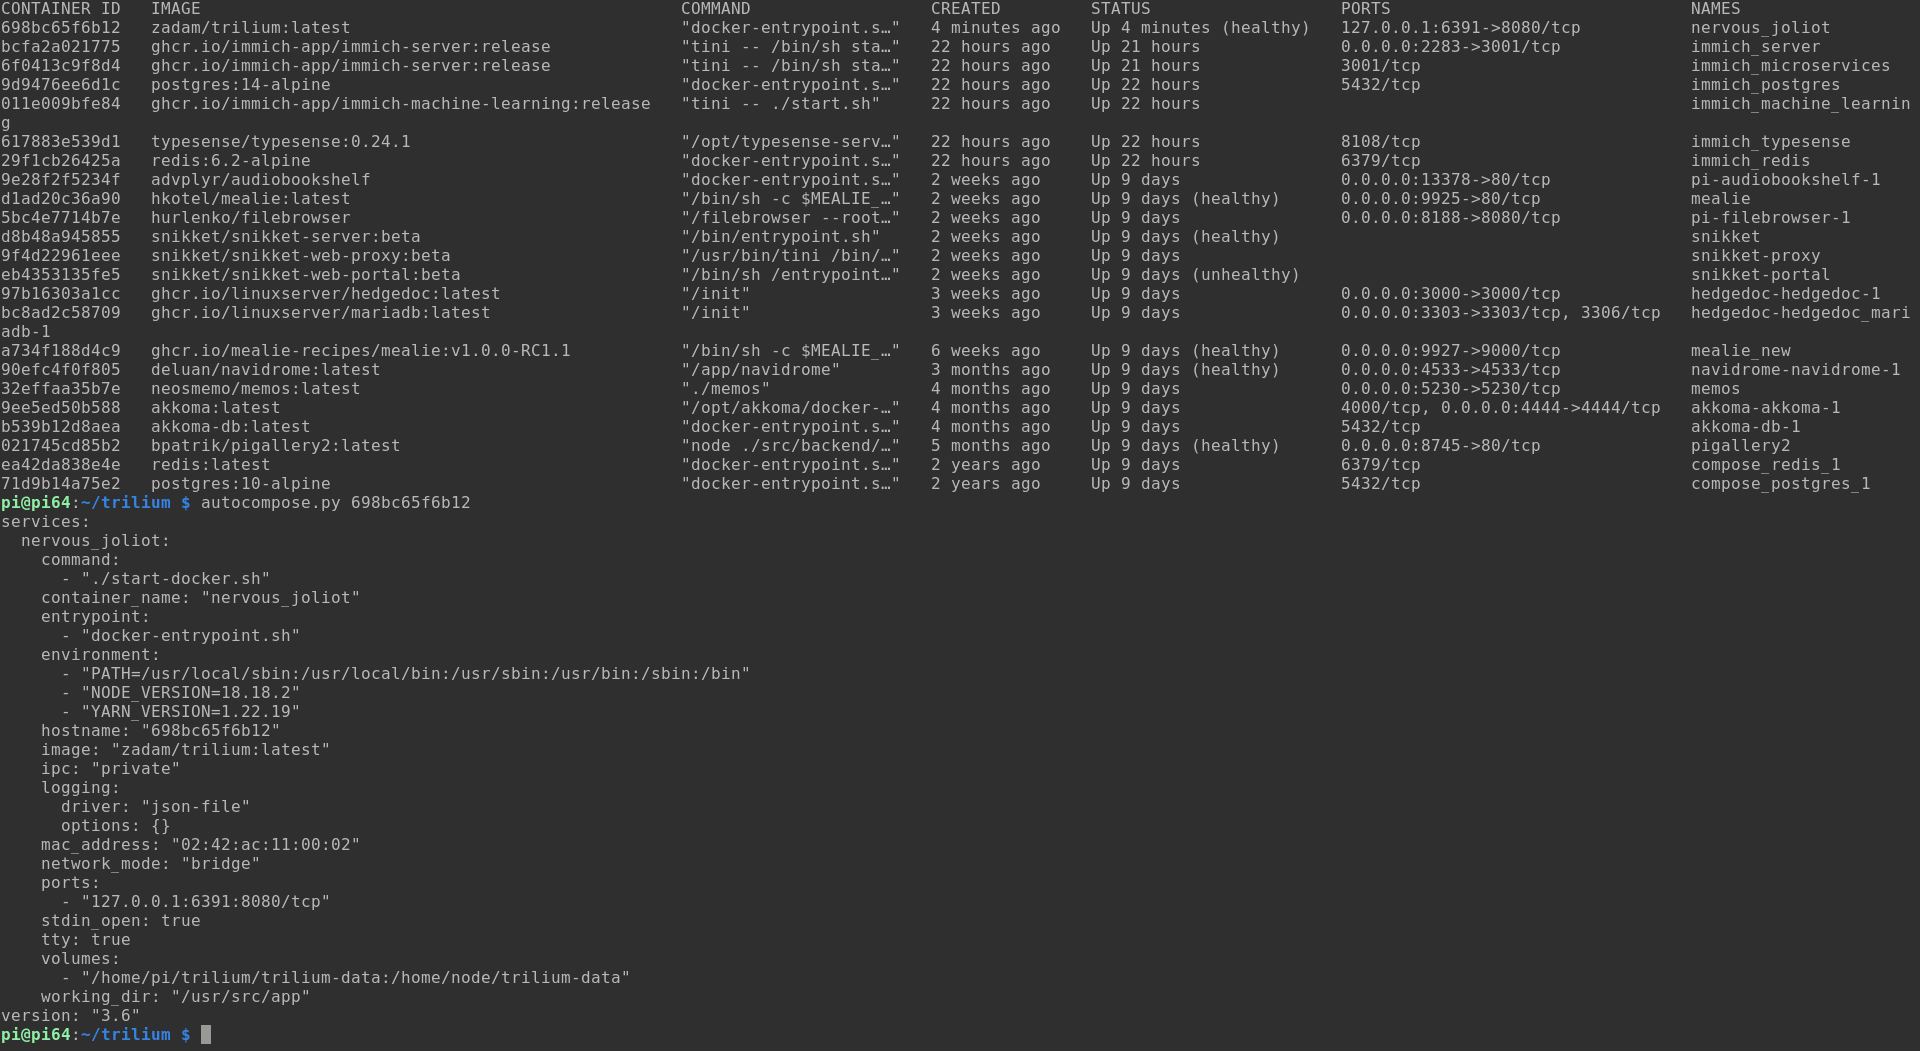
This command will return a complete Docker Compose config as stdout.
Copy this text to your clipboard, then use nano to create a new file:
nano docker-compose.ymlPaste the contents of your clipboard then save and close nano with Ctrl + O then Ctrl + X.
In our case, the resulting Docker Compose file for Trilium is:
services:
  nervous_joliot:
    command:
      - "./start-docker.sh"
    container_name: "nervous_joliot"
    entrypoint:
      - "docker-entrypoint.sh"
    environment:
      - "PATH=/usr/local/sbin:/usr/local/bin:/usr/sbin:/usr/bin:/sbin:/bin"
      - "NODE_VERSION=18.18.2"
      - "YARN_VERSION=1.22.19"
    hostname: "698bc65f6b12"
    image: "zadam/trilium:latest"
    ipc: "private"
    logging:
      driver: "json-file"
      options: {}
    mac_address: "02:42:ac:11:00:02"
    network_mode: "bridge"
    ports:
      - "127.0.0.1:6391:8080/tcp"
    stdin_open: true
    tty: true
    volumes:
      - "/home/pi/trilium/trilium-data:/home/node/trilium-data"
    working_dir: "/usr/src/app"
version: "3.6"
You can now destroy your old and uncool docker container, and bring up your fancy new one in detached mode with a simple:
docker-compose up -d Remember to properly configure a reverse proxy if you plan on exposing Trilium to the web.
Docker Compose makes container orchestration simple
Now you can create Docker Compose files from any running Docker container, and add to your easily managed arsenal of dockerised and self-hosted apps. Some of the ones we can't live without include, Immich, Audiobookshelf, Jellyfin, and Snikket.


